From tax accounting to profit and loss, it’s important to keep track of your pet grooming business expenses. Groomsoft saves you time by automating pet grooming expense tracking in a few key areas.
- Your Groomsoft subscription costs are automatically tracked to the “Dues & Subscriptions” category the 1st of every month.
- If you purchase pet loss sympathy gifts through Groomsoft’s Pet Perennials integration, those are automatically tracked for you. For more information about this most important service, visit Pet loss how your pet grooming business can support your clients in their time of need
- For mobile groomers, your appointment and return trip mileage can automatically be logged as well.
In this post, you’re going to see how easy it is to set up and manage your expenses in Groomsoft.
Setting up your Pet Grooming Expense Categories
To get started click on Expenses in the main menu.
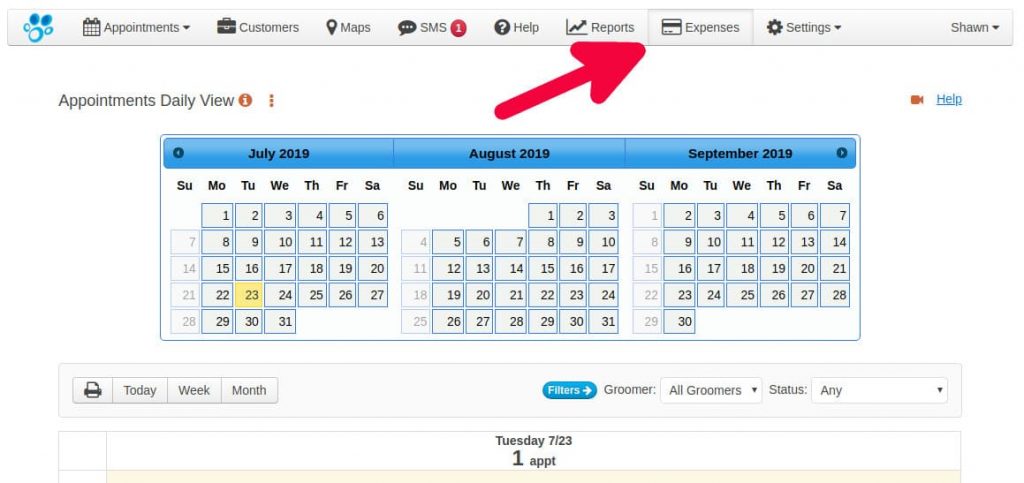
As with many areas of Groomsoft, clicking the Camera icon will show you related videos.

The first step is to set up your expense categories. These should mimic your accounting expense categories that have been set up for your business. We have provided many common categories which you can check off. Doing this allows Groomsoft to show you reports with Expenses totaled by category. This is great for managing your business or income tax time.
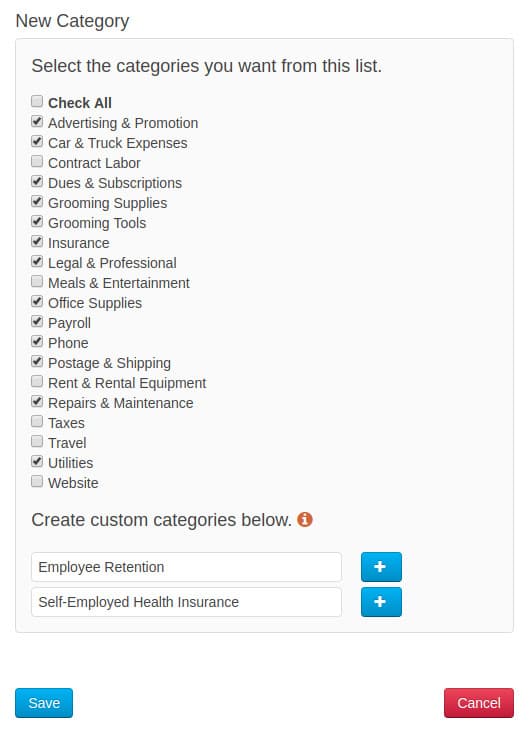
You can create your own categories in the custom categories text box. If you need to add more than one, click the plus button for show another text box. In the above image, the custom Employee Retention and Self-Employed Health Insurance categories were added.
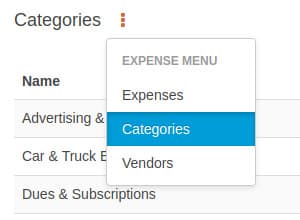
You can come back to the expense categories at any time by going to the Expense menu and clicking on the Categories option.
Setting up your Expense Vendors
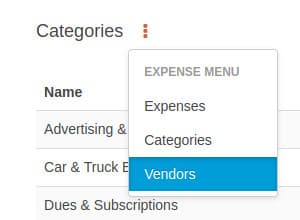
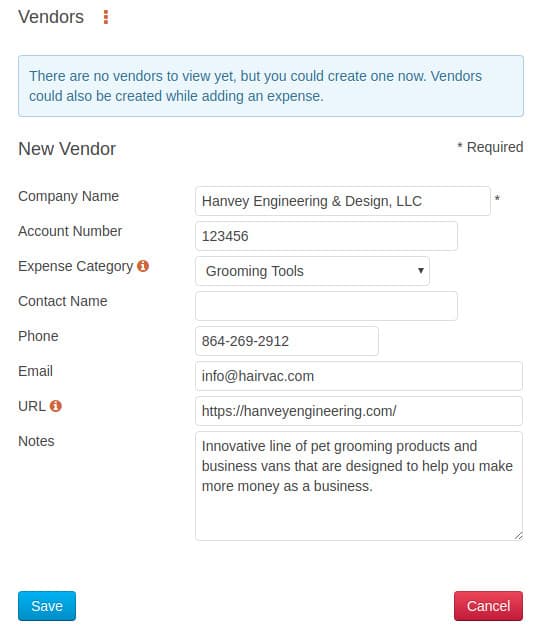
This can be done on the fly when creating a new expense or by clicking on the Expense Categories menu and choosing Vendors. All of your vendors will be listed here. In this example we are creating a new expense vendor for our good friends at Hanvey Engineering.
The category field is the default category that will be shown when creating an expense for this vendor, but you can override that and change the category when creating the expense.
Having all your expense vendors in one place helps you stay organized. After creating the new vendor, you will be shown the list of vendors. The phone, email and URL are clickable for easy access. Hovering over the note icon next to the company name will show the note you may have entered when creating that vendor. The vendor list as well as expenses can also be viewed in the reports page.

Entering Pet Grooming Expenses for an existing Vendor
To enter expenses, we can click on the sub menu and choose Expenses.
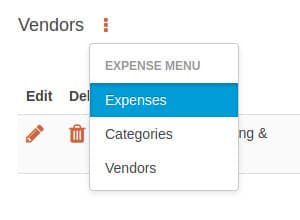
Or, simply click on the Expenses option in the main menu.

As you type the Vendor name, Groomsoft will autocomplete that from the list of vendors you have in your database.
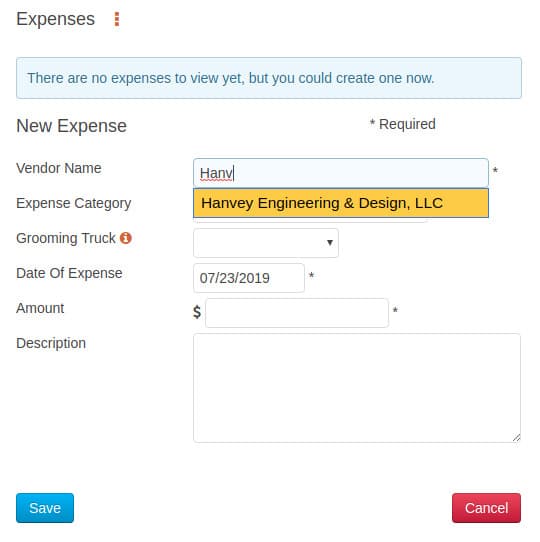
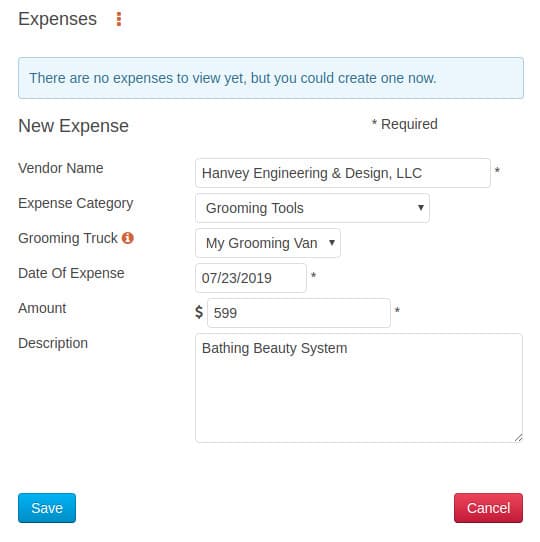
Once selected, the category will automatically appear. If you’re a Mobile Groomer and you have your grooming van set up in Groomsoft to track mileage, you can also track expenses against that grooming van to see expenses by van. Once everything is completed, click the Save button.
Entering Pet Grooming Expenses for a new Vendor
While creating a new expense, type the new vendor’s name and complete the required fields, which are denoted with an asterisk and click the Save button. In this example, we’re going to buy some shears from our friends the Grooming Professors.
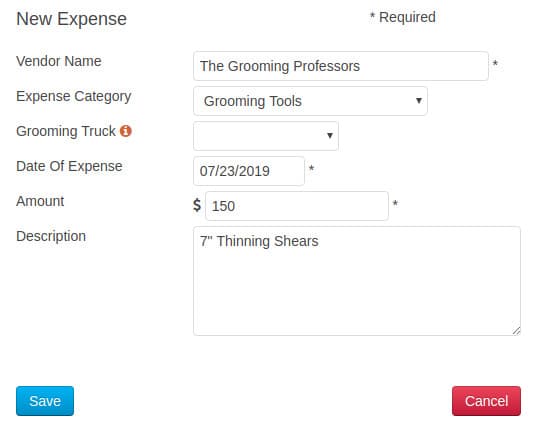
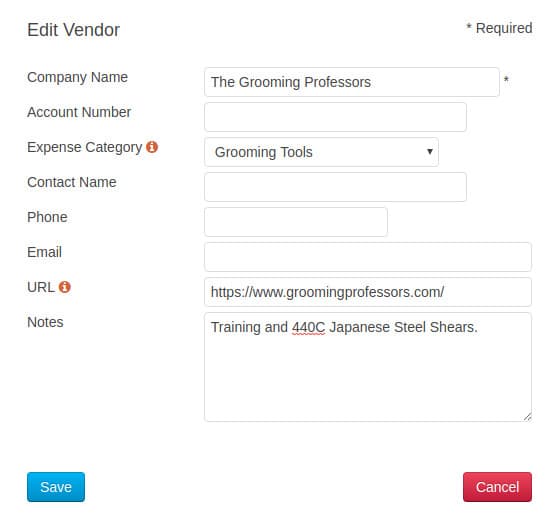
After clicking the Save button you are asked if you would like to update the Grooming Professor’s vendor information.

Clicking the Yes button will show you the Edit Vendor form where you can add all of their details.
A full video tutorial is shown below.
Be sure to subscribe to our YouTube Channel at https://www.youtube.com/Groomsoft
Related post: https://blog.groomsoft.com/pet-grooming-business/pet-grooming-expenses/

